So, I haven't posted for a while due to some pretty severe health stuff which I won't go into, but I'm going to try harder!
So, quick tutorial today on these gorgeous quilted nails.
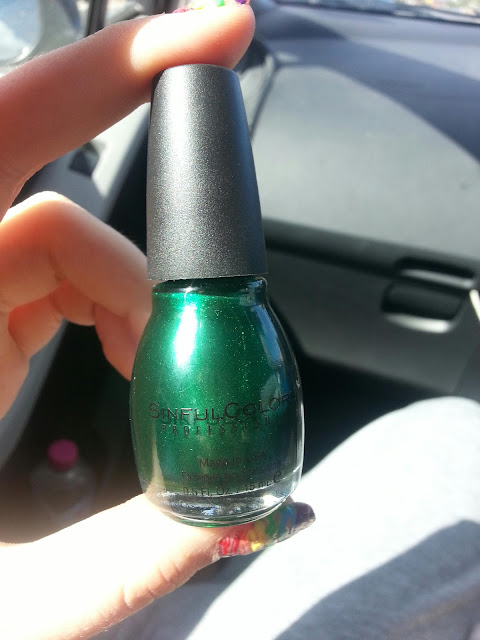
I've been leaaning lately towards softer looking manicures, cuz I've been sick, the weather's been awful (windy as anything, cold, few thunderstorms) and I've been wanting soft looking nails that wouldn't look out of place poking out of an oversized sweater, or wrapped around a mug of hot chocolate. You know the look I mean. These don't exactly fit that bill, but they're soft, relatively easy, and cute. Plus, they've been popping up all over my Pinterest feed, so I thought I'd give it a shot. The ones I've seen that I loved the most are all soft, pastels (cream is lovely, pale pink, purple), I went with a blue from Sinful Colors, called Cinderella. It's quite a thin polish, I did 4 coats to build it up to opaque, but it's a beautiful, soft blue with a subtle pinky gold shimmer. Lovely.
 |
| I swear, there IS a shimmer. This was taken outside, you can almost see it, hiding behind the refelctions on the bottle. ;P |
Now, there's a couple of different ways of achieving this effect. The first is to lay down your colour, let it dry completely, then apply striping tape in a criss cross pattern across the whole nail. Paint over this, then remove the tape. The second way (the one I went with) is to dent the polish. I waited until the polish was touch dry, but still dentable, and pressed into it gently with a business card until I had the pattern I wanted. The tape method is probably less dangerous in terms of bumping the wrong bit of nail, however the few times I've used the stuff, it didn't stick properly and was kind of more frustration than it was worth.
But thats just me.
Now, you'll get thicker lines with tape, but you can have deeper grooves (if you choose to) with the card method. It's totally personal preference.
 Once I'd quilted the all my nails, I put a piece of large glitter where each groove met another. This is optional, but it gives you that studded look to your quilting. Very cool, in my opinion. You could also use rhinestones, but I'm running out of my smaller ones, so I just used glitter. I have some tiny heart ones which would be cute... Maybe next time. ;) You could also use microbeads, which are like little teeeeeeeeny tiny balls. But I don't have any. If I did, that's the route I'd have taken.
Anyway, apply your studs (should you choose), whack some top coat on over the top (don't worry. It won't smooth out your grooves. That was my main concern, but it's all good) and you're done!
Food for thought: You could get a few different styles with this technique: try black with gold studs for a more edgy look (a matte top coat would be really cool with that), outrageously bright fluros (I'm not a fan of bright yellow with my skin tone, but the quilting would be really unexpected with that colour), or even try this technique on a french tip.


